
Why do you keep saying that!?
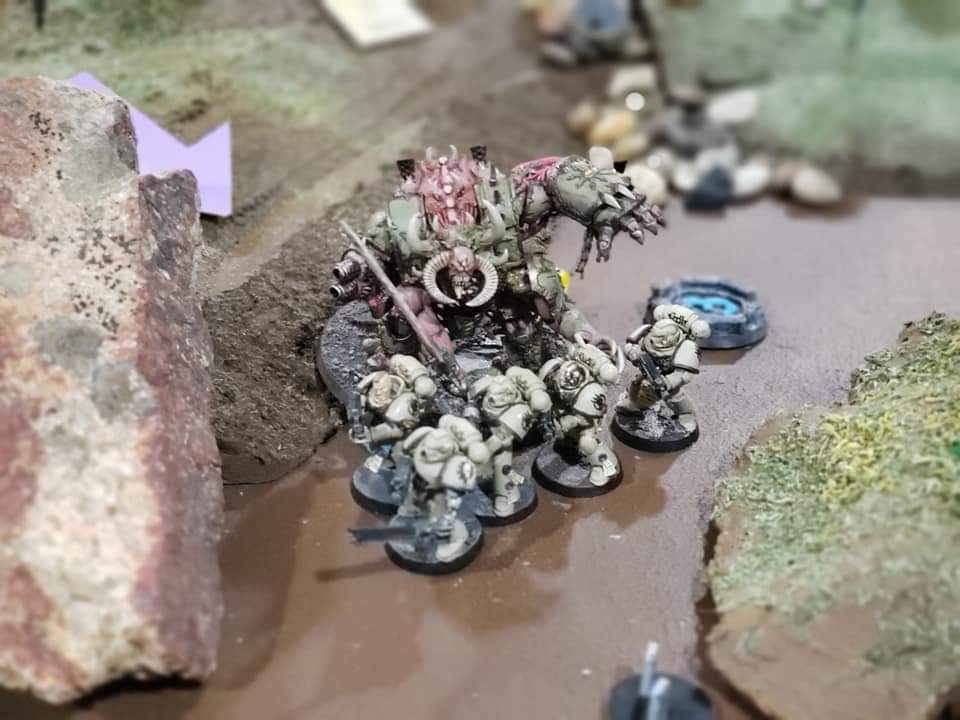
If you’re like me at all you might have heard how the assault phase can basically be another movement phase a lot, but either no one really explained why, or you’d just get an unsolicited rant about what’s broken in the game here or there and leave learning nothing useful and feeling just a bit more salty. Well, not only is the assault phase like an extra movement phase, in certain circumstances, but you could move way more than a normal movement phase. I’m talking a max of 18 inches, just to put a number on it (I said max, not average, 18 inches might never happen for you).
How is this possible? By choosing good assault targets and the art of piling in and consolidating; oh and rolling good dice, that helps too. So let’s break it down.

Choosing the right targets
So the assault phase starts with declaring a charge and selecting a charge target, an eligible target that is. No selecting units beyond 12″. Alright, so let’s say you have a unit that is so close that it’s almost guaranteed you’ll get in. Then let’s say there is another unit that is chilling at the 9-12″ range. Less likely you’ll be able to make that. Now let’s say the unit that’s close is something you don’t really care about, some chaf unit, but the unit further away is something you really need to tie up. Options?
You don’t care about the chaf unit in your face and might be tempted to ignore them and select the real target behind them, but what you probably should do is select both as targets. Keep in mind you’ll take overwatch from everything you select, unless they’re already tied up in combat.
The Charge
So you make your charge roll and you get enough to charge the close unit but not the far unit, but that’s just fine. All you have to do is put one model in your charging unit within 1″ of the target unit and make sure none of your other models get within 1″ of a unit they didn’t charge. What that means is that you put one model within 1″ of the close unit, and you can then sling shot the rest of your unit around to the farther back target. You have to maintain your 2″ unit coherence, but if you position correctly then you can really move your charging unit around.
Go’mor Pile (in)

Now I said you didn’t roll enough to get in with the back unit, right? No worries. As long as you can get within 4″ of the back target, you can reach out and touch it. When you fight with your charging unit here, you can pile in 3″. The only stipulation on the pile-in rules is that if you decide to move a model while piling in, that model MUST move towards the closest enemy unit, even one you didn’t charge (this is important). Now in order to fight that back target unit (given you declared a charge against it) you just have to get within 1″. As long as your charge move gets you within 4″ then you can get to within 1″ with your 3″ pile in move, so long as you maintain unit coherency. It’s kind of like adding 4 inches to your charge roll, so long as you select a closer unit to get within that 1” requirement of one of the units you declared a charge against. Pretty cool, right?
The Follow Through
Now consolidating is basically another pile-in move with basically the same rules, it just happens after a unit fights. You do have to move closer to the closest enemy unit, but if you plan properly then you can get another 3” tacked on to this momentous and brutal wave of death you’re mounting. Something to think about when you’re consolidating is, just like pile-in, you can tie up any other unit if you can get within 1”. Keep in mind that they get to fight you and you can’t fight them, but if it’s something that sucks at close combat but is a big shooter, like, lets say some sort of tank with big scary guns, then you can keep them from shooting in your opponents next shooting phase. They would either have to fall back their turn and shoot in the following, provided they don’t get tied up again, or stay in close combat not shooting at anything.
Keep in mind there are certain keywords that allow units to behave differently in these scenarios, like the FLY keyword, but by and large this is something you can expect to see in each game. It’s important to know that in this game, especially when starting out, there is probably always some unit somewhere with some exception to some rule. It’s kind of a thing in 40k.
These sorts of opportunities are not really obvious off a quick glance of the rules, but after a bit of thinking it through, and probably some good experience, there are opportunities a plenty afforded by how the rules are worded. Knowing this sort of thing can really take your assault game to the next level.
I hoped everyone enjoyed this deep dive, and as mentioned we’ll be putting up several more articles getting into the nitty gritty of how to make the assault phase work for you.